If you’re a long-time user of EmailOctopus you’ll likely have copied across our HTML sign up form to your website or used our Zapier/Upscribe integrations to make it easy for users to subscribe to your marketing newsletters.
For newer users, however, integrating with another 3rd party service or fiddling around with HTML can be time-consuming and a little daunting. For those users, we’re excited to announce hosted forms.
The hosted form option makes it quicker than ever to collect email addresses and begin emailing your list.
Getting started with hosted forms
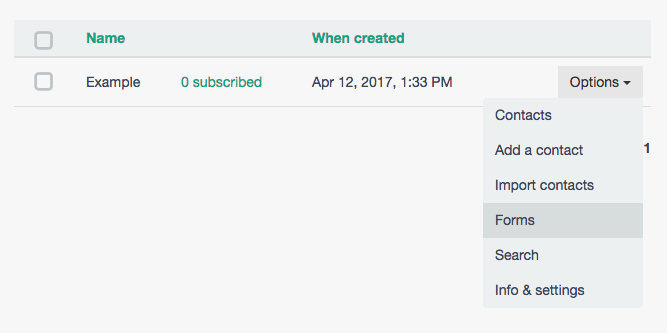
It’s very easy to get started with hosted forms. Start by visiting the “Lists” page on your Dashboard
Select the list which you want to add users to and click “Options”. Then select “Forms”
Select the Hosted option and you’ll now be able to create and edit your hosted form.
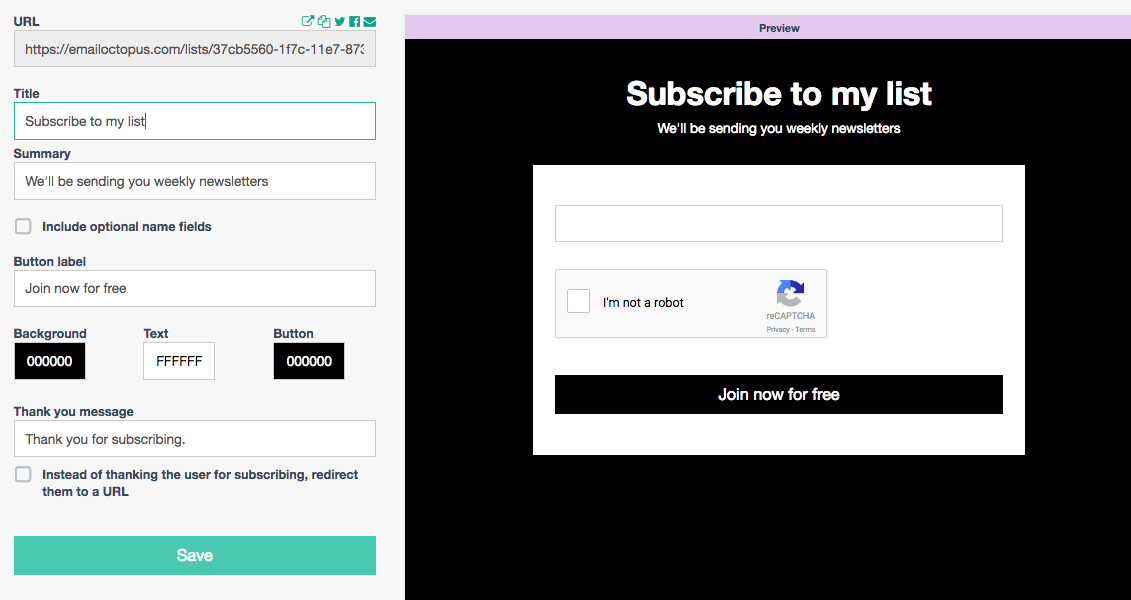
You can edit the Title, Subtitle and colours of the form to match your own in-house style
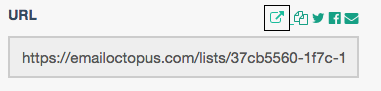
Use the copy button (highlighted with black border above), to copy the URL so you can share it with your customers
How you can use hosted forms
- Link from your emails to your form
You can leverage your existing email list to further expand your network. Why not try including a link to your hosted form at the bottom of your email? Often emails are forwarded, so with a link to sign-up, those users who receive the email will be able to sign-up and receive the news first hand. - Connect your WordPress blog
If you don’t want to use our WordPress plugin or sign-up forms you can simply link to your hosted form using a button or link.